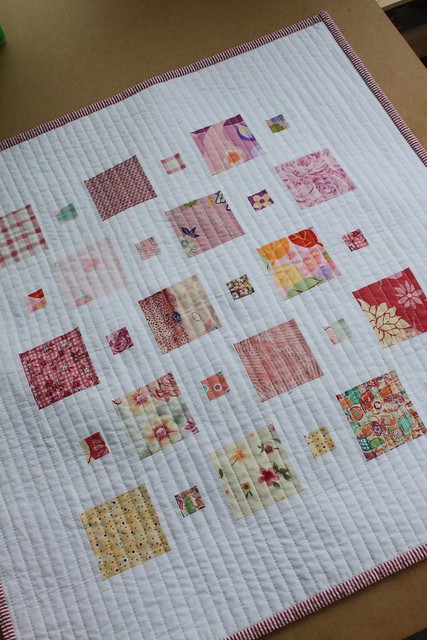
 Once upon a time, there was a quilt simply called “Pink”. It was my first. OK, my second, but my very first based on my own pattern. It was a small quilt, that was gifted to a little baby girl, born not long after the quilt was made. I almost forgot about this quilt, until one day I got a message from a reader asking for a tutorial. I also realized that it has made it’s rounds on pinterest, and had a small following. My little, simple, pink and white quilt.
So I decided to make another one, using the same pattern (I have never yet repeated a pattern, because there are so many different patterns to try, right?), but quite different fabrics and write a little tutorial. Inspired by Yoshiko Jinzenji stunning quilts from Quilting Line and Color: Techniques and Designs for Abstract Quilts, I am making a red/black quilt that involves a lot of fussy cutting from a variety of fabrics, some quilting some ikea home decorating fabrics, going for bold lines and colors.
The tutorial will be in two parts, In the first part I will go over cutting and assembling the squares with the smaller color squares in the middle. And in the second one I will put them all together. I realize that the second part will be quite short, but I am writing this as I am making the quilt so there you go :).
STEP 1
Let me tell you first a little bit about how I work. I almost never preplan my quilts. I might make a sketch, like I did for this one (see below), but it’s just an idea. It is definitely not a full drawing, just a basic layout. Then I start cutting. I start with one or two blocks (depending on the pattern, it this case it would be two blocks because they are different) in the size I think I want, put them side by side on my design wall, imagine the approximate quilt size and see if I like the proportions. If not, I resize blocks. When I’m happy with that step, I start pulling out fabrics and cutting. But again, I don’t pull out all the fabrics and I don’t cut all at the same time. I might start with a color inspiration, pull out a few fabrics, cut a few blocks, arrange them on the wall, and then I repeat. By the time I’m done the color scheme might have change from the initial idea. I understand that this makes for a slower process, but the other way around does not work for me.
I think this might be why I never wrote many tutorials, because by the time I’m done, I would have to make a new quilt just to figure out what I did. I think I need to do it as I am working on a quilt, that way I have everything documented.

OK, back to this quilt. This illustration below shows the layout for this quilt. Note that it is a bit different than the original Pink quilt because I wanted the bigger squares to be on all four corners of the design. The original idea was to make the smaller square 1/3 the size of the bigger square – the bigger square is 3×3 in and the smaller is 1×1 in **finished**.
 So let’s start; you will need to cut:
25 larger squares (3.5 x 3.5 in) and
24 smaller squares (1.5 x 1.5 in).
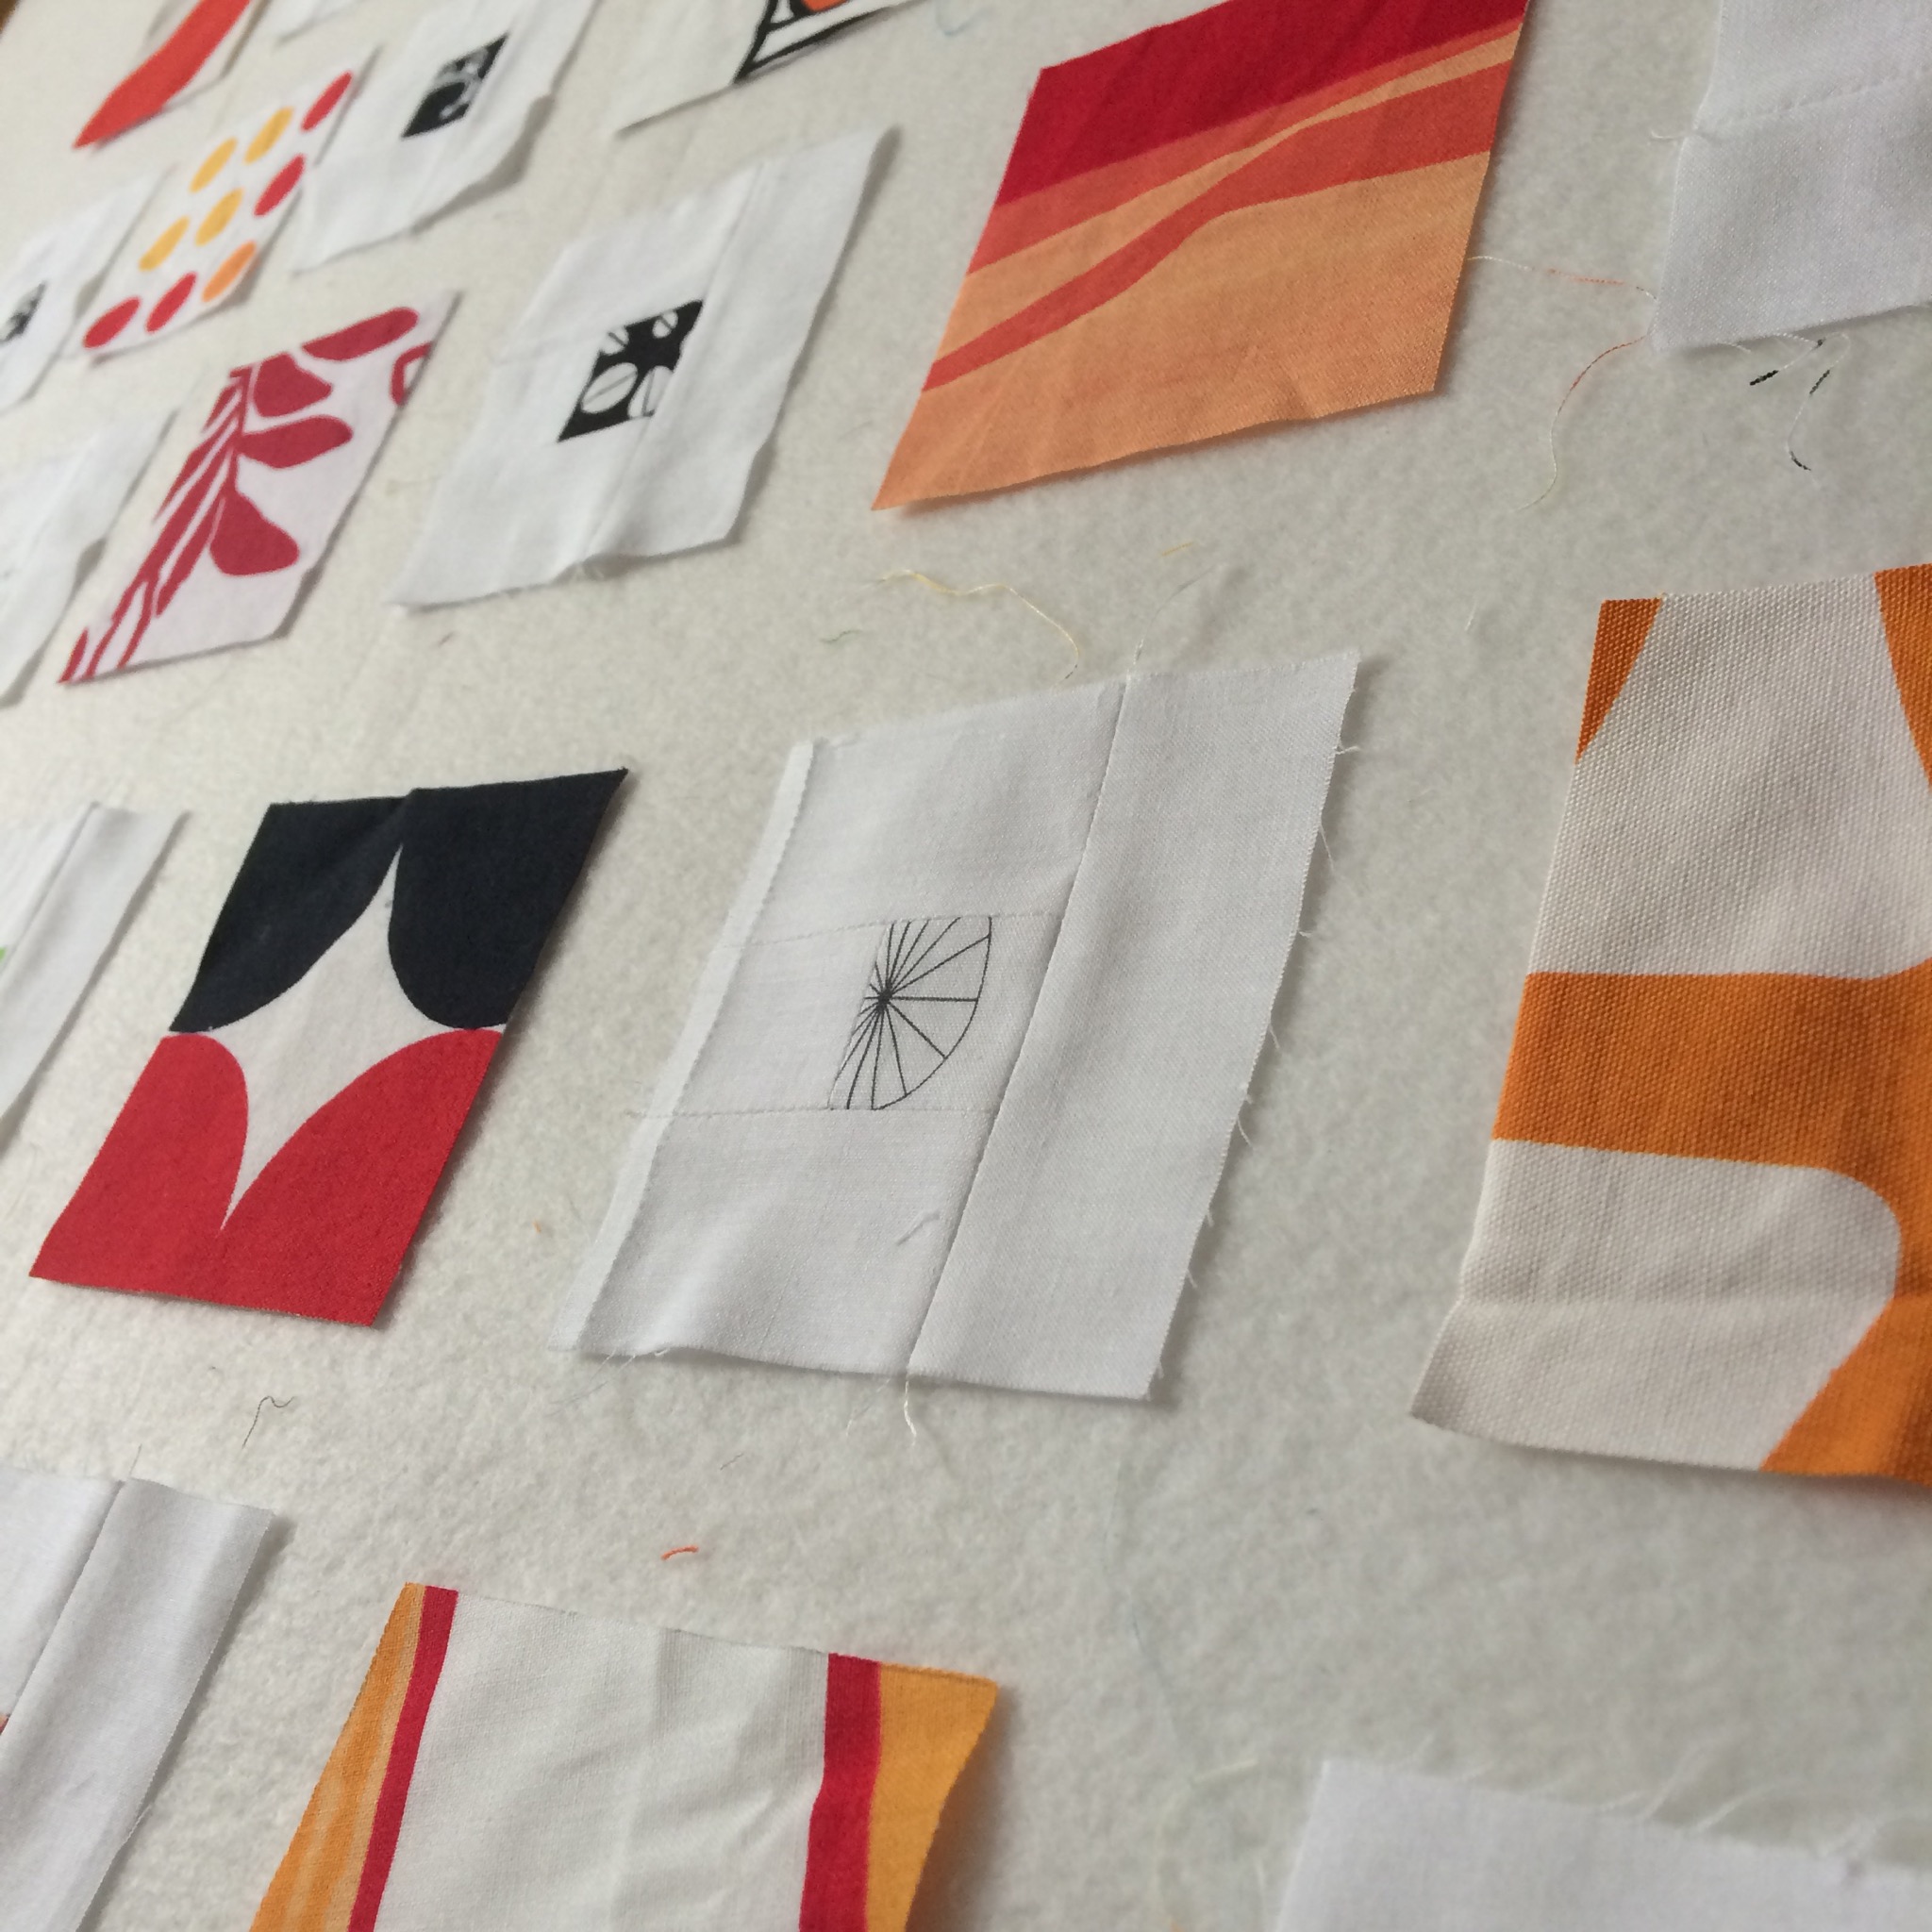
This is what my design wall looks like when I finished cutting and arranging my squares. I also take some blurry pictures which help me see the arrangement of colors.

STEP 2
In step 2 we will be assembling the block with the smaller square in the middle. To better illustrate what I am talking about here is another image of the layout, this time with a little bit more information, to show you exactly how this quilt is assembled.

Here you can see that each row of the design has two alternating blocks: one big dark square you cut out in step 1, and a square with the smaller dark square sashed in white. Also, rows are separated by a white strip but that will be covered in Step 2.
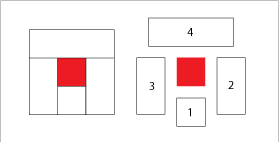
And this is the layout for the block we are assembling. The numbers indicate the order of sewing (this is basically log cabin square). For this step you will need to cut (all from white or background fabric):
24 squares 1.5 x 1.5 in (piece 1);
48 rectangles 1.5 x 2.5 in (pieces 2 and 3);
24 rectangles 1.5 x 3.5 in (piece 4).
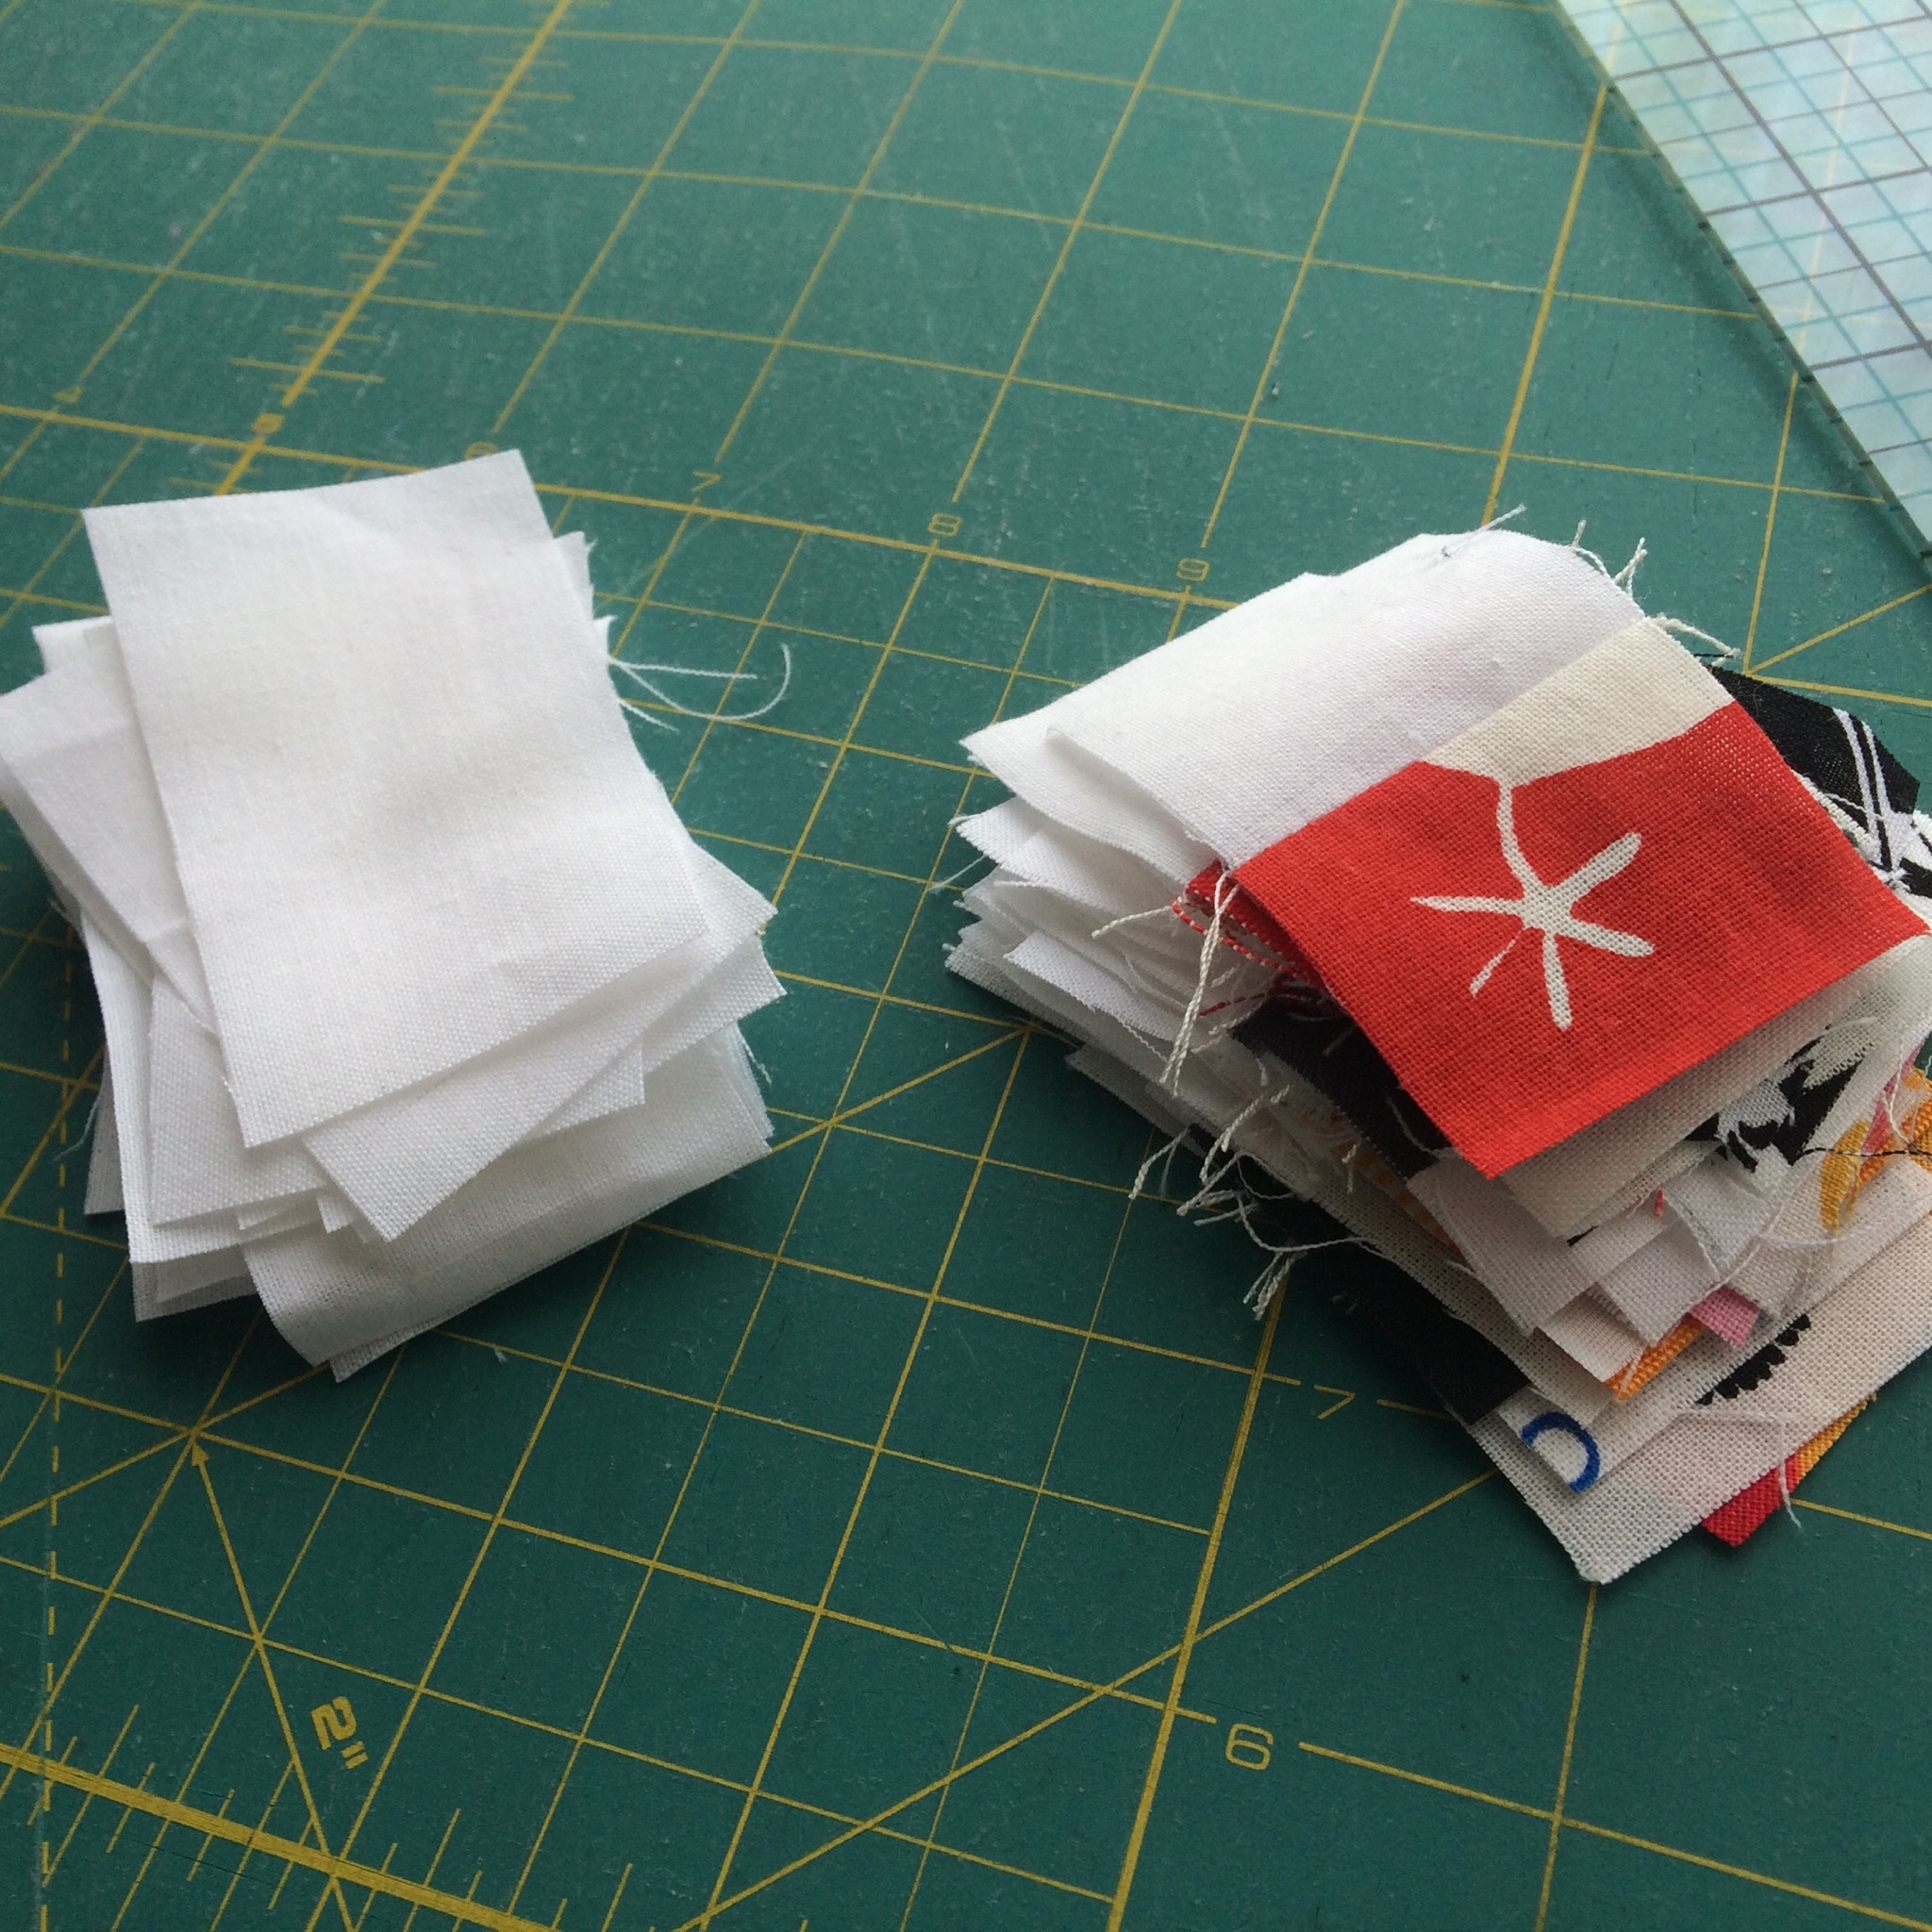
Here you can see my cut squares for step 1. I chain pieced them in each of the four steps. That way I can also keep track of the order I took them off the design wall.

Piece 2 cut and waiting to be sewn on. I forgot to take pictures before piece 3 and 4 were sewn, but you get the picture.
Here are all the shares finished. I wanted to show you the back of one of them – if I can I always press my seam open. I like how they look from the front – much smoother then if you press them on one side. The seams are also harder to see when the quilt is finished.
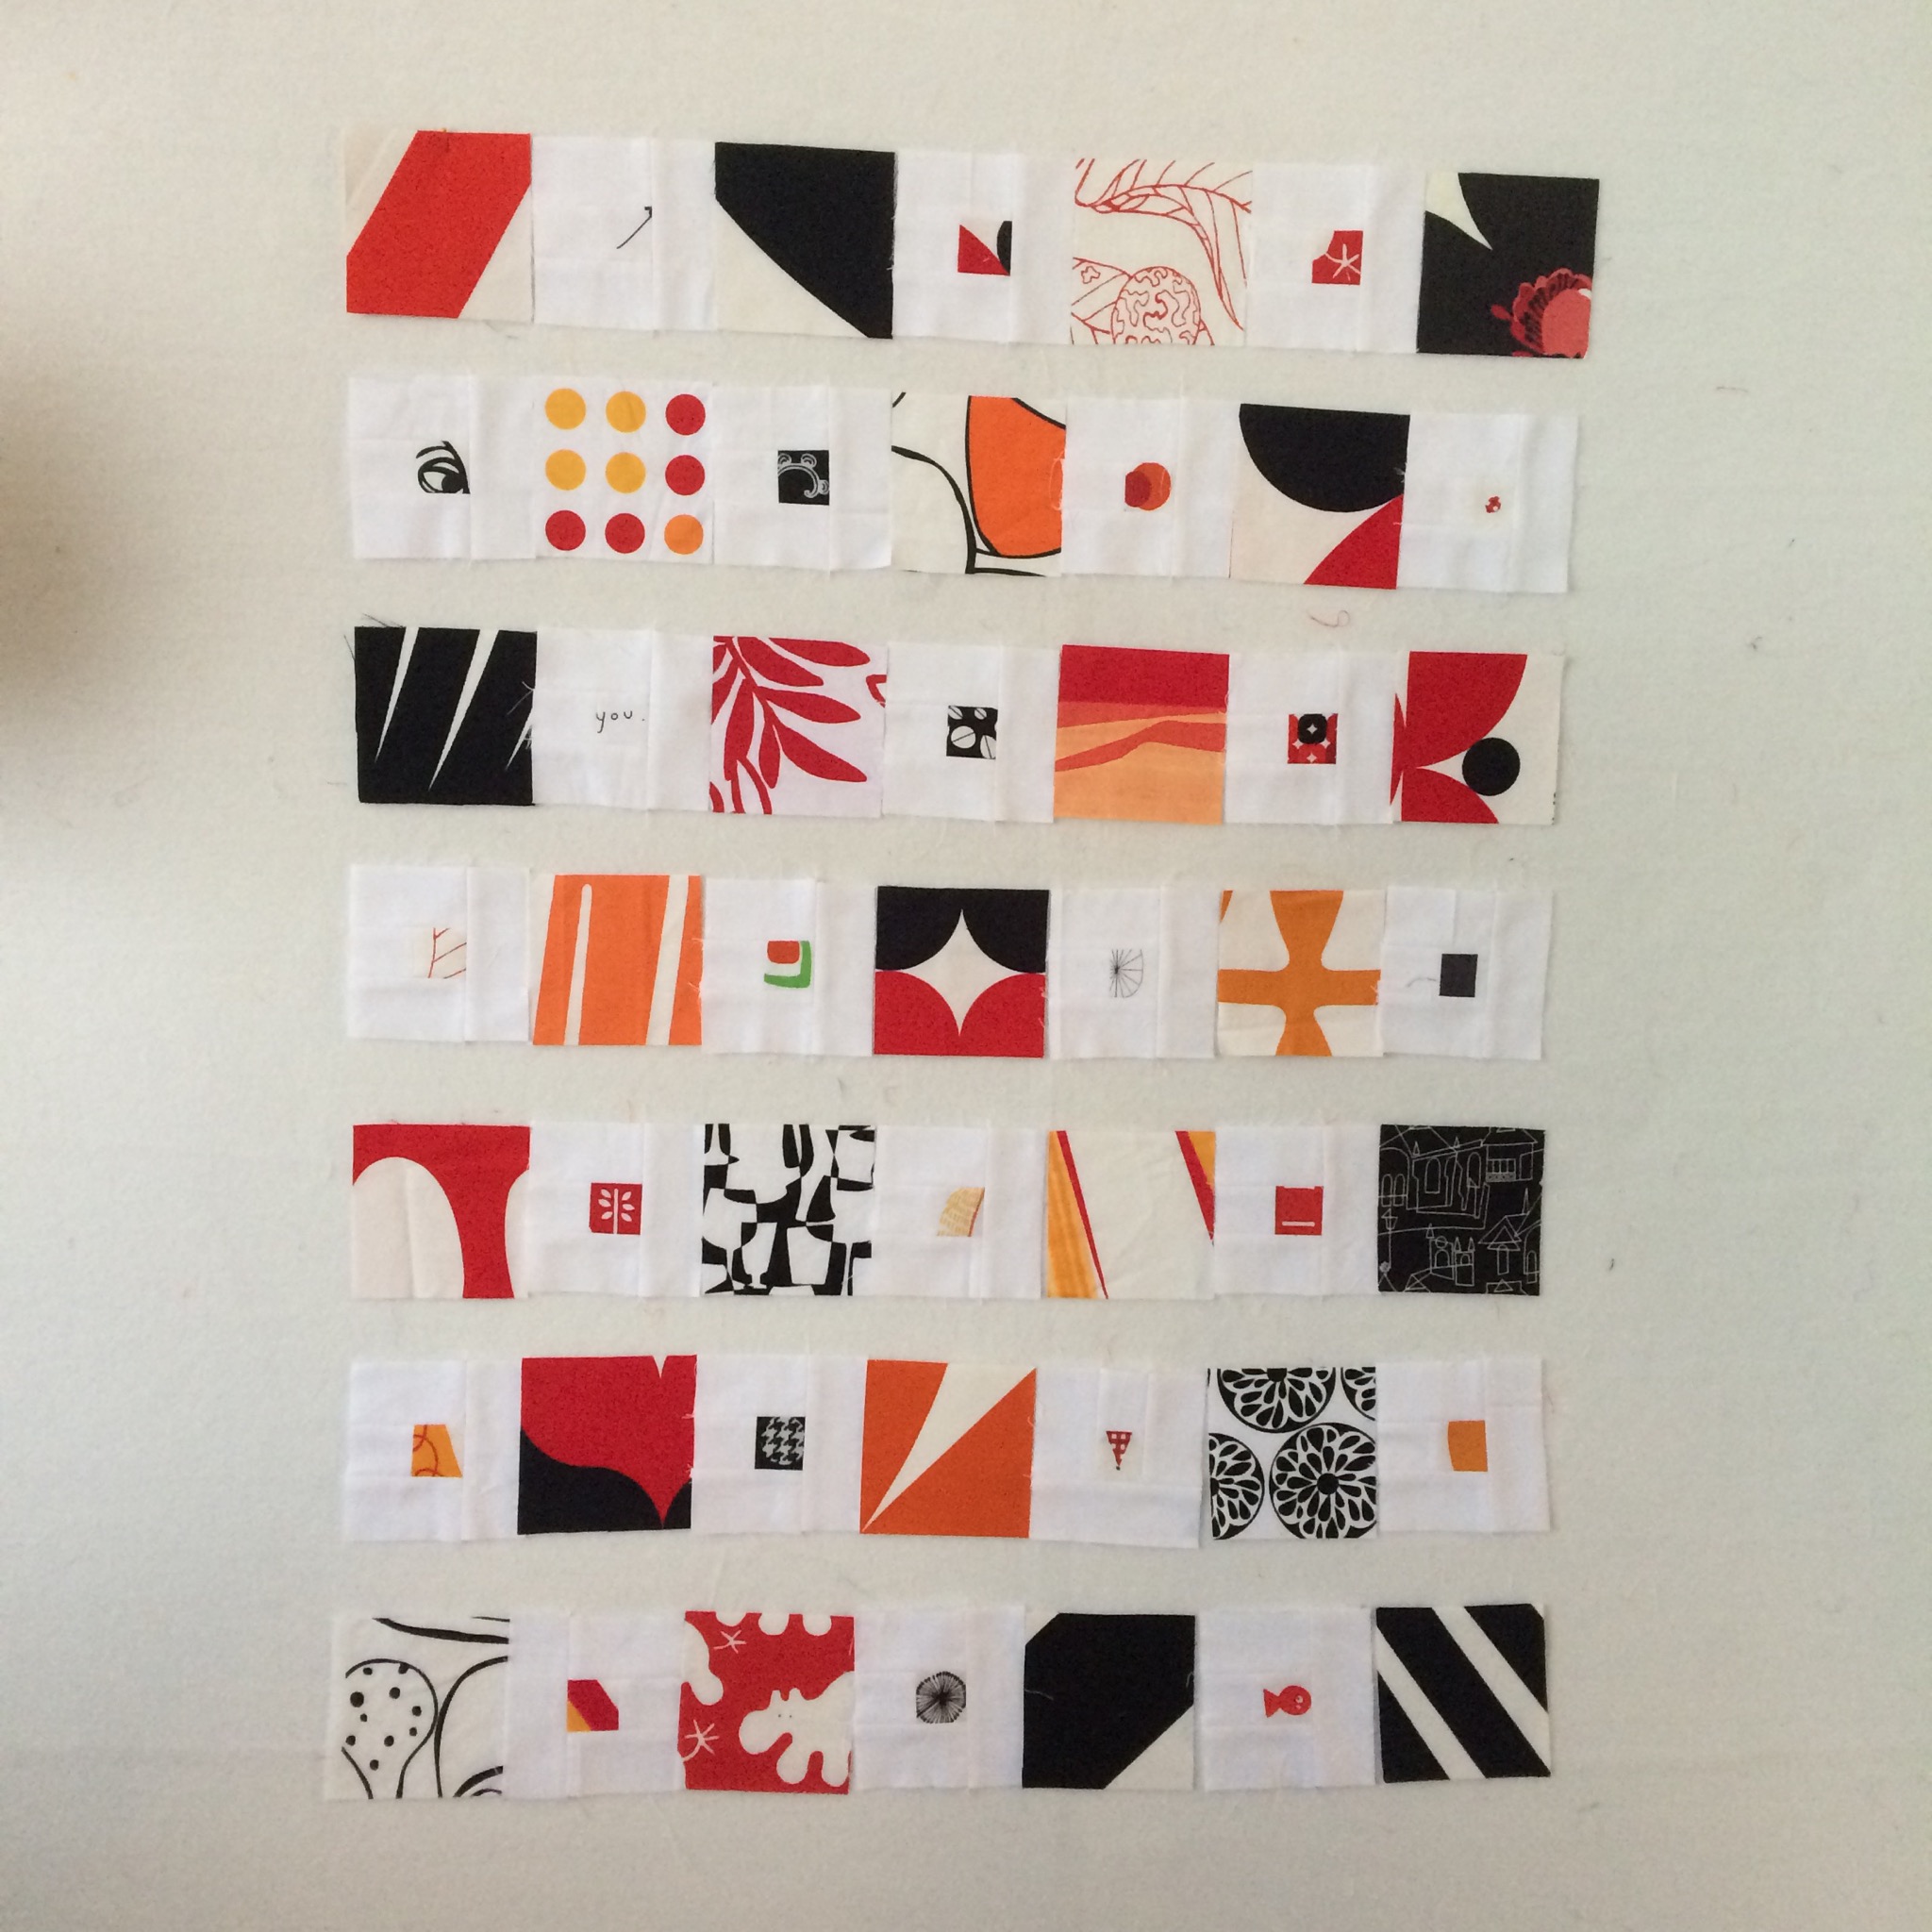
Here is the final layout for Part 1 of this tutorial. Next we will sew the rows together, add white strips between the rows and the border around this center design.
And I leave you with a little closeup of the fabrics…

Thank you for creating and sharing this great tutorial. 2 baby showers coming up and you have fueled my sewing engine!
You are welcome! Thanks for visiting.