** EDITED 10/01! I really, really disliked the photos I took and posted here, so today I went for a bike ride and had a little photoshoot at the beach. I have replaced almost of the pictures except for the last one, and that just because i forgot to take a new photo of the back. Oh well. Oh and a few that show some detail that were not so bad.**
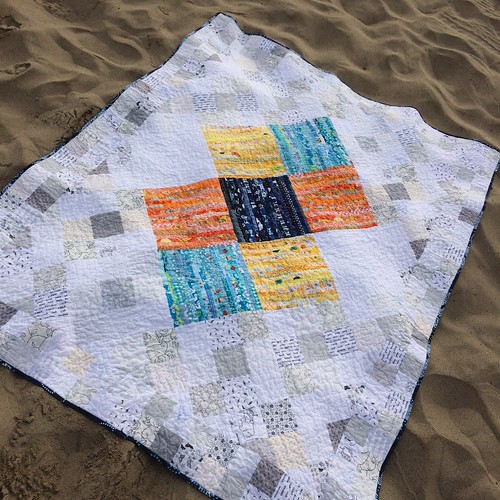
Let’s start with photographing. When I thought I was done and all that’s left to do was to take a few photos…. Well… Maybe it was the lighting, maybe the colors of the quilt, but you can see in the following photos how different it looks. Sometimes yellowish, sometime bluish…

Then it was the dimensions: it all started with the dark blue square in the middle. One day, uninspired (or possibly too hot, that’s just the kind of year we had here) to finish a quilt I was working on, I pulled out some scraps and made that square. It was about 10 in square. I really did not know what was to become of it, so I pinned it on my design wall and then it sat there for months.
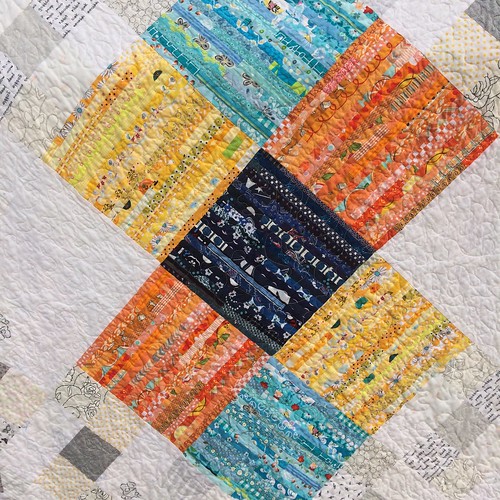
Finally, when we got back home from visiting fun places (and family) in Europe, I made two more squares, this time in light blue. Then one yellow and one orange and then I came up with this center design. I finished all the color squares (you can see a few more WIP photos here), added two white squares (can you see that? it’s basically a huge nine patch) and then… then what?

I thought about simply adding white background but that would have been to easy, right? So I decided to add more nine patch squares in very light white/gray fabrics. The idea was to mirror the big nine patch, with the darkest share in the middle and two white on the sides (I am not sure if that is obvious or not?). Also, the background nine patch had to be as big as one patch in the middle, but since my color blocks were about 10.5 in, I had to cut a really weird size (for the finished size of 10 in for the nine patch, each square needed to be 10/3 in finished size, and that;s just not a fun number!). So here we have issues with dimensions and cutting.
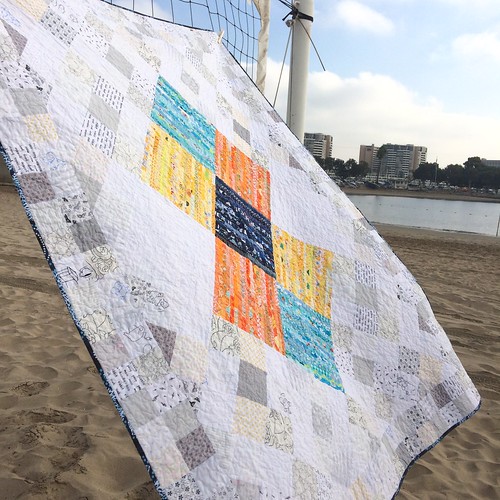
I could have finished there but I still felt something was missing. That;s how the border was born. Since it’s all about squares and the decreasing dimensions I wanted to go with a border that will be made up of even smaller squares in a different orientation. And I wanted the side of these border squares to be the same as the diagonal of the nine patch background squares. I had no idea how many problems I will run into when I made this decision. Not just because of cutting another weird size square, but also because the sides of my quilt as it was now (without the border) was very stretchy on the edge because the edge was all of those bias cuts. So when I attached the border, which I realized later was quite longer than each of the sides, I got ruffles! yes, the border was like a big ruffle all around. I tried ironing it down. No go. So it had to be ripped. And you have no idea how I dislike ripping. But it had to be ripped, shortened and sewed back on. But the sides were stretched already, so even with shortening the border, it came out a little wobbly. But i was not going to rip again, and I decided it will have to do and it will have to be taken care of during quilting. Note to self… next time you have a bias edge, stitch it before adding a border or binding to prevent stretching! (like you would do when sewing clothes – when finishing the neck with bias tape – always stitch around the edge first so it won’t stretch!)

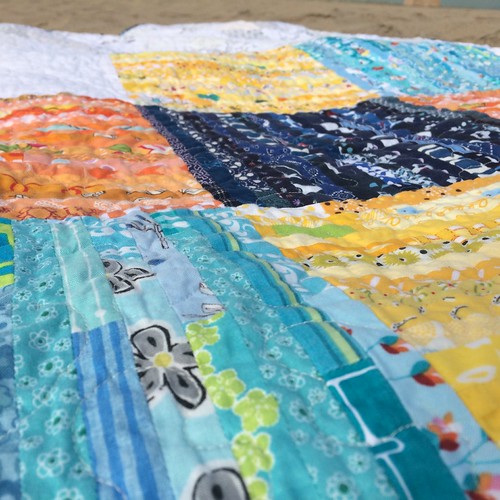
I initially planned to straight line quilt it. Quite densely. But because of the waviness of the border I knew I would get into trouble, so I decide to do the free motion quilting which I knew I could get around a little bit of extra fabrics at the edges (see above?). I was not really happy about having to do this, but it would have to do. And I hoped it would shrink a bit in the wash and as it gets wrinkly, it would not be so noticeable… And it really wasn’t. It is so deliciously wrinkly and soft.
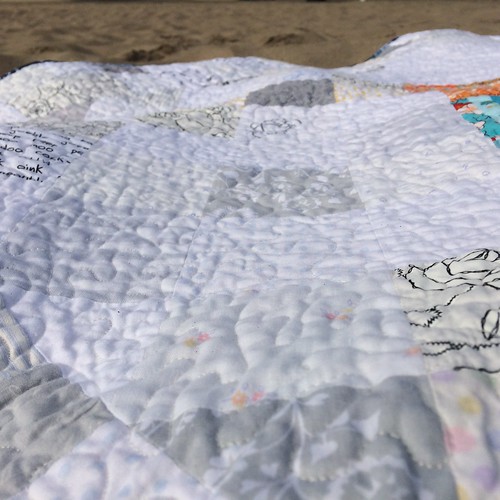
One more closeup of quilting… And one more note – I really don’t enjoy free motion quilting. I prefer quilting straight lines and I do prefer the look of it. But you got to do what you got to do. And I am really happy how it turned out, problems and all. I was close to burying it on the bottom of the WIP pile, and forget about it. But I am happy I did not.
And the background (Lands End sheet with matching blues).
Finished size: 50 x 66 in. I think that’s one of the largest quilts I made.
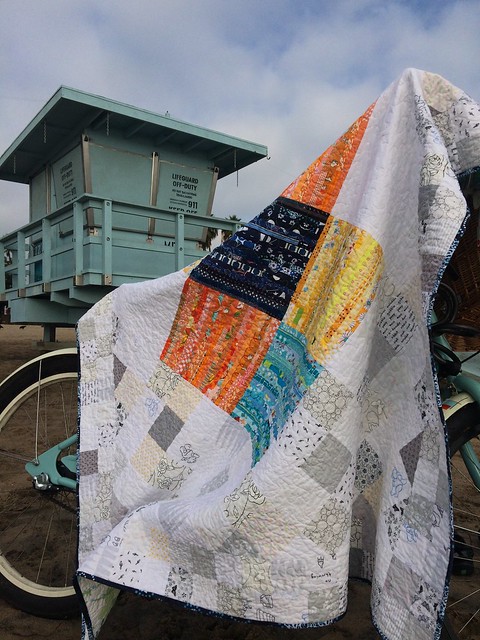
Look, my bike color matches the color of the beach tower!

One thought on “strimla quilt – finished”